Home
Beginners Growing Marijuana Indoors
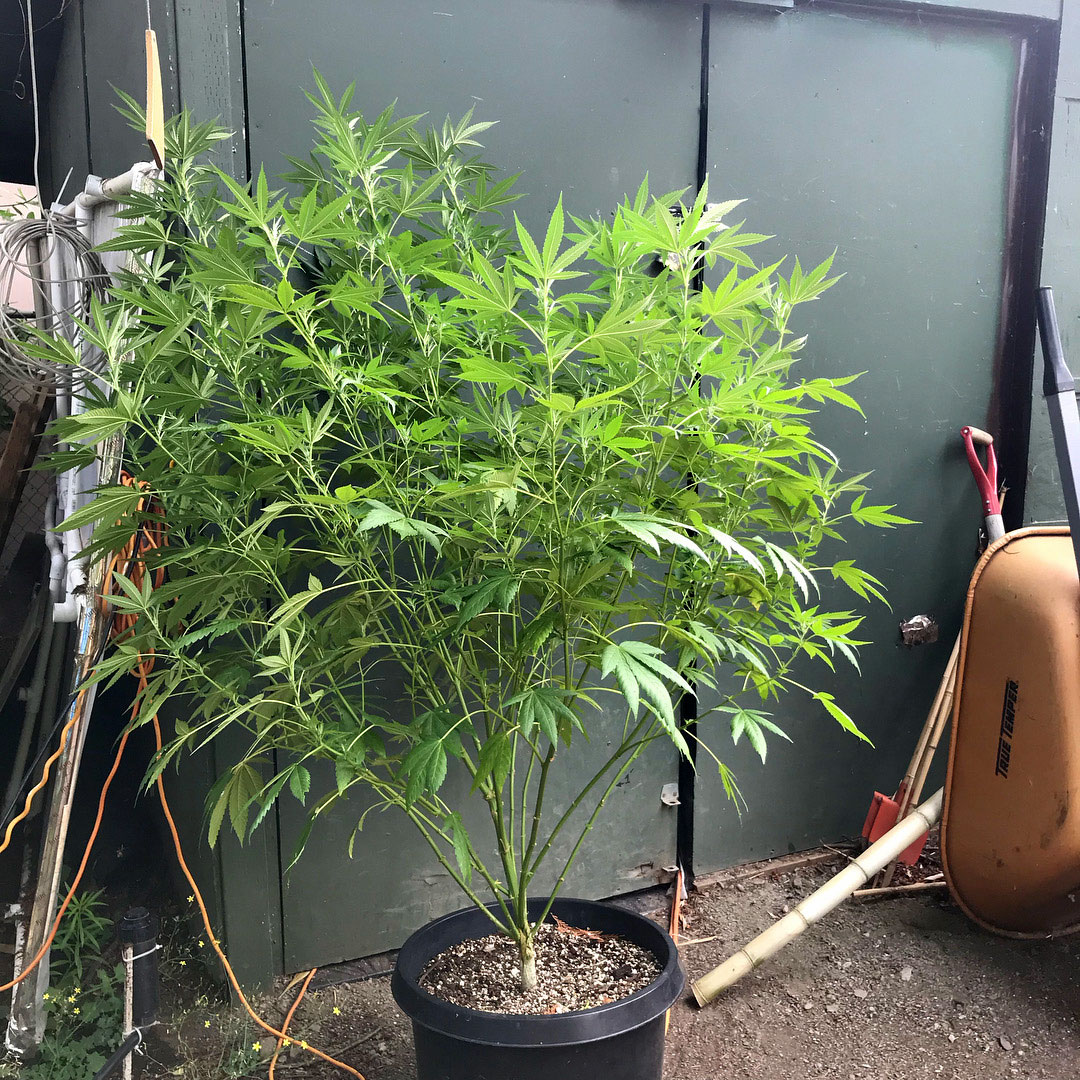
These plants were grown together. The one of the right begins a bit taller, and grows simply a little lankier than the other one. However generally they have actually stayed about the same height for the vegetative phase. Now look what takes place when they get changed over to the blooming stage ... Mismatched.
Marijuana Strains Are Not Effectiveat Utilizing Indoor Grow LightsBud Development (and how to increase yields )You have actually currently set things up with the pressure you selected and the plant training you did in the vegetative stage. Something that can help you get better yields is to expose your bud websites to more air and light. Some growers tuck leaves away, while other eliminate leaves that are covering buds sites. Attempt to get the buds as much light and air direct exposure as possible, but prevent destructive or over-stressing the plant. It is very important the new growers do not defoliate leaves up until they've made it past their first harvest. Though defoliation can assist open bud sites, it's common for new growers to pull a lot of leaves, which will harm yields later in the flowering phase. Marijuana uses delegates make energy, and if it doesn't have sufficient leaves it will not be able to make enough energy to grow and fatten up buds. It's important not to go overboard though, as too much light can really light-burn your plants. The highest-yielding marijuana grow lights for the flowering stage are HPS grow lights. Numerous growers use an HPS grow light in the flowering phase to get larger yields. 5 Ways to Increase Yields Inside with Any Pressure: It is essential to switch.
to a flowering or "blossom" formula of nutrients during the marijuana flowering stage, which tend to be lower in nitrogen and higher in phosphorus. So prevent offering your plant a basic nutrient formula in the flowering stage, particularly nutrients high in nitrogen (nitrogen is the very first number noted on nutrient bottles). Many growers seem to get this concept that more nutrients= more buds. They might begin increase on nutrients as harvest is coming, in an effort to get bigger buds. While marijuana plants use a lot of nutrients in the first month following the switch to flower, your cannabis plants will gradually begin needing less and less nutrients as they approach harvest. It can be an excellent concept to gradually start relieving down on the amount of nutrients being offered about halfway through the flowering stage, simply a little bit at a time. By keeping nutrient levels relatively low during the second half of the blooming phase, you are avoiding nutrition accumulation in the plant that could potentially impact the taste of the buds, or prevent appropriate bud advancement. As long as your plant is not showing indications of nutrient deficiencies in the very first month or 2 of blooming, you're supplying enough nutrients. This is since leaves begin dying and the plants stop looking as picture-perfect as harvest methods.
In the last 2-4 weeks before harvest, it's normal for the plant delegates gradually begin dying away, much like the leaves of trees in the fall. This isn't a sign to increase nutrients; it's a natural part of the plant aging process, and buds will continue to ripen up until harvest. In the flowering phase, plants start being a little more picky about the environment. What helps a lot with bud advancement is to manage the temperature and humidity of the grow area. Most significantly, prevent too-hot temps! Too much heat can burn terpenes, which lowers the taste/smell of your buds completely. Discover plant training strategies here: https://www.growweedeasy.com/training!.?.!As long as you're offering your plant with theright kind of nutrients and are managing pH, it's unlikely that you will run into real deficiencies. If you're having issues that you think might be a deficiency, the very first step is to look at this 7-step list to repairing 99% of marijuana growing issues: If you're still not sure, take a look at this extensive list of marijuana plant issues, bugs and deficiencies. We deliver new growing short articles to your email address every Sunday morning at 4:20 am Happy Growing!Nebula & SiriusSimilar Articles ... For How Long Does It Require To Grow Weed?( Marijuana Development Timeline) Complete List of WHATEVER on GWE ← Over 500 Articles & Growing Tutorials!. Trying to find the essentials of how to grow marijuana? Here are the tools and info on how to grow weed economically and efficiently.
All you need is a small discreet space and a little bit of a spending plan to start on your indoor pot production. PinterestThe very first thing you'll need is a place to grow. They're inexpensive, made to grow within and can be installed and removed rapidly by one individual. Some tents include bundles that include all.
sort of complex hydroponic equipment. Your best choice is to purchase just what you need inside the camping tent and to discover how to grow weed without the pricey plastic. Initially, you'll need a growlight. I like HID (High-Intensity Discharge )lighting-- HPS( High-Pressure Salt )or MH( Metal Halide) systems with ballasts, bulbs and reflectors. If heat from these lights will be an issue, there are likewise LED( Light-Emitting Diode) and CFL (Compact Fluorescent) systems you can use. Make sure to get a light that covers your tent's footprint and purchase a good timer to manage when your light turns on and off. Make sure to get one that's rated for your camping tent's size with the correct ducting size. A clip-on flowing fan will keep air moving and stop it from being stagnant. A thermometer/hygrometer is likewise a need to for monitoring temperature and humidity. If you do not have access to marijuana seeds or clones from a dispensary or buddy, you'll require to get some marijuana seeds mailed to you. Do not just learn how to grow weed, learn how to be discreet and not boast or accentuate yourself. An easy loose and airy soil mix in 3-5 gallon pails are terrific for newbies and a lot more flexible than any hydroponic system. Make sure to cut holes in the bottom of the buckets and use saucers under them to catch any overflow. After you have actually planted your seeds or rooted your clones, it's time to get them growing. Lower your reflector so that it's closer to the plants rather than making them stretch to reach for light. Raise the lighting system as your plants grow. Set your light timer to be on for.
18 hours per day and off for 6 hours. Err on the side of care as it's constantly simpler to include more nutrients or water than it is to take them away. Cannabis roots prefer a wet/dry cycle so raise your pails and you'll get a much better idea for if they require watering or not by the weight. The very first rule of how to.
How To Grow Marijuana From Seed - Dummies
grow weed is to find out to stay off of its method sometimes. Anytime space is restricted for growing, some basic guidelines apply: Given that square footage is at a premium, strategies need to maximize each available inch. This indicates choosing between growing indica-dominant pressures such.
as Hashplant, Afghani # 1 or intending on using extreme trellising and training methods if growing out sativas such as Super Silver Haze, Jack Herer or Kali Mist. Cut or pinch branches just above the node where 2 new shoots will emerge. If you remain on top of this procedure, you'll have plants that look like bonsai bushes, with plenty of bud sites however not a great deal of extending and huge spaces in between nodes. This is the efficient method to get larger yields out of little areas however your vegetating time will increase so aspect that into your schedule. If the branches are threatening to reach the light, flex them or tie them down to keep them from burning. A trellis system built from chicken wire at canopy level( aka the ScrOG or Screen of Green system ), will even more spread out bud sites and increase your yields significantly. Just train growing shoots to grow horizontally along the bottom of the screen to fill empty spots.
If you wish to find out how to grow weed, it is necessary to identify how much area you have and to aspect in the fact that your plants will stretch for a minimum of a few weeks after flowering is induced. I usually recommend one week per gallon of container, so a plant in a five-gallon pail ought to get approximately five weeks of vegetative time. Make certain never ever to disrupt the 12-hour dark duration with any light. This puzzles your plant and can cause severe problems. Change your feeding program to one suited for blooming. Plant nutrients generally come in vegetative or flowering formulations so switch to a" blooming "solution. Depending upon the blooming time of your strain, determine when you have two weeks or two left and start the flushing process.
PinterestKnowing when and how to collect your buds is as crucial as understanding how to grow weed. Utilize a loupe or a strong magnifying scope to take an extremely close look at the trichomes; the small glandular stalk and head sometimes referred to as "crystals". Up close, they look like little glass mushrooms with a stem that forms a bulbous round clear top. Harvest when most of the gland heads begin to go cloudy white and prior to they have actually gone completely amber.
Harvest when they're mostly amber if you want a more lethargic stone. Post-harvest, you will cut and hang up your buds to dry. This procedure needs to take about a week or more depending upon the humidity and heat in your area. Add a humidifier to your drying space if you think your nuggets are drying out too quickly. Never leave a fan blowing straight onto.
your drying colas however make sure air is flowing to avoid mold and bud-rot. After you have actually determined that your buds are sufficiently dried you're prepared to jar them up for the remedy. The reality is there is still plenty of water stuck in the bud and the treating process will gradually" sweat" out the remaining liquid. Constantly use nontransparent containers (ones you can't see.
inside )and put them in a cool dark place. Open the jars to identify the level of moisture and leave them open if there's any condensation forming on the within the glass. After three weeks to a month approximately curing, your buds must burn and taste perfectly. A crucial part of finding out how to grow weed is mastering drying and treating techniques.
How To Grow Cannabis Indoors: A Beginner's Guide For ...
You do not want marijuana to dry too rapidly or too gradually, as the perfect drying time for a healthy and flavorful marijuana plant is 10 to 2 week. Attention to information is vital if you are a newbie who is trying to discover how to grow weed. Even the most insignificant information might be the difference between a healthy plant and a loser. In this video, learn more about the best kind of container to.
utilize to grow your cannabis plant. Larger roots indicate a larger marijuana plant, which suggests a more abundant weed yield when the time comes. A hydroponic garden, also understood as a" hydro" setup, is a popular implementation to grow premium weed. In this video, an expert takes you through the ins and outs of a normal hydro setup, enabling you to see what it requires to successfully execute your own hydro setup at house. However, with some assistance from the experts at High Times, you can quickly establish a hydro system that will offer you an impressive yield! As with any garden, when growing marijuana, insects.
are a continuous issue. For anybody finding out how to grow weed, it is very important to end up being skilled in bug management. This video teaches you how to ward away insects from your precious plants with integrated insect management, stopping an invasion prior to it can even happen. Just a couple of easy actions can imply the difference in between victory and defeat. Now you know the fundamentals of how to grow cannabis from seed to harvest. Now that the Canadian Marijuana Act has actually entered into impact, adult-use leisure cannabis is legal across the country. Together with the business retail alternatives which differ by province comes the option to grow your own! The Cannabis Act clearly permits the growing of approximately four cannabis plants per household-- deal.
void in Quebec, Manitoba, and Nunavut, which have banned house cannabis growing at the provincial level. So sprouting 4 seeds while you have four plants near maturity amounts to eight plants-- double what is permitted. For Canadians in provinces eligible to home grow, our guide to indoor cannabis growing will help streamline the procedure for you into clear, easy-to-digest areas designed to assist the newbie grower begin. This space doesn't need to be the normal grow" space; it can be in a closet, tent, cabinet, spare room, or a corner in an incomplete basement. Just remember that you'll require to customize your devices( and plants) to fit the space. When developing your space, you'll need to take into account not just the amount of space your plants will require, but likewise your lights, ducting, fans, and other devices, as well as leaving sufficient space for you to work. Ensure your space is easily sterilized; tidiness is very important when growing inside, so easy-to-clean surface areas are a must. Carpets, drapes, and raw wood are all challenging to clean, so avoid these materials if possible. Another crucial requirement for a grow room is that it be light-tight. Light leakages during dark periods will confuse your plants and can cause them to produce male flowers. Here's a short rundown of the most popular kinds of marijuana grow lights utilized for indoor growing. Juanmonino/iStock HID( high strength discharge )lights are the industry requirement, widely utilized for their combination of output, efficiency, and worth. They cost a bit more than incandescent or fluorescent fixtures but produce far more light per.
system of electrical energy utilized.
Back Next Article
More From This Category
indoor growing table
how to grow a cannabis indoors with natural light
how to grow tropical cannabis sativas indoors
***
Categories
Copyright© THE COMPLETE KIT TO GROW POT AT HOME All Rights Reserved Worldwide