Use the Apps menu to go to the Samples app.
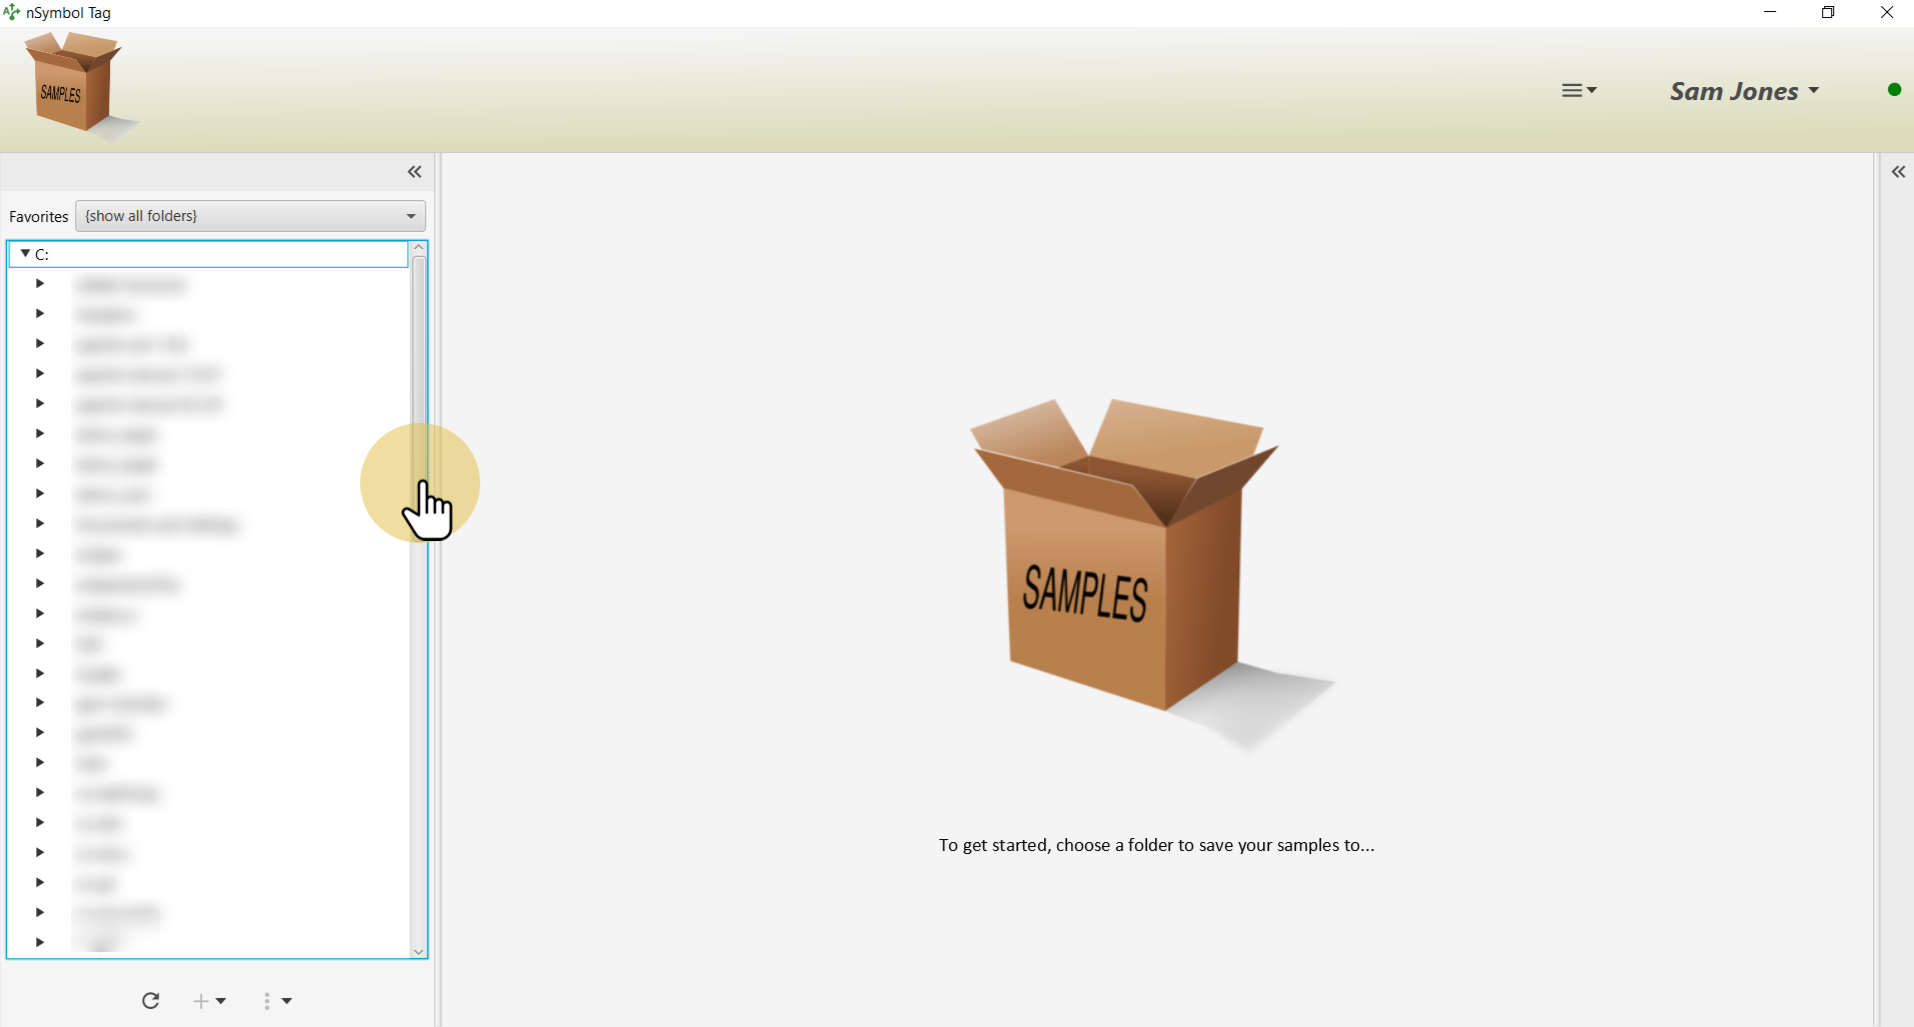
Use the file tree to find an existing empty folder to work with, or create a new one using the plus menu under the file tree.
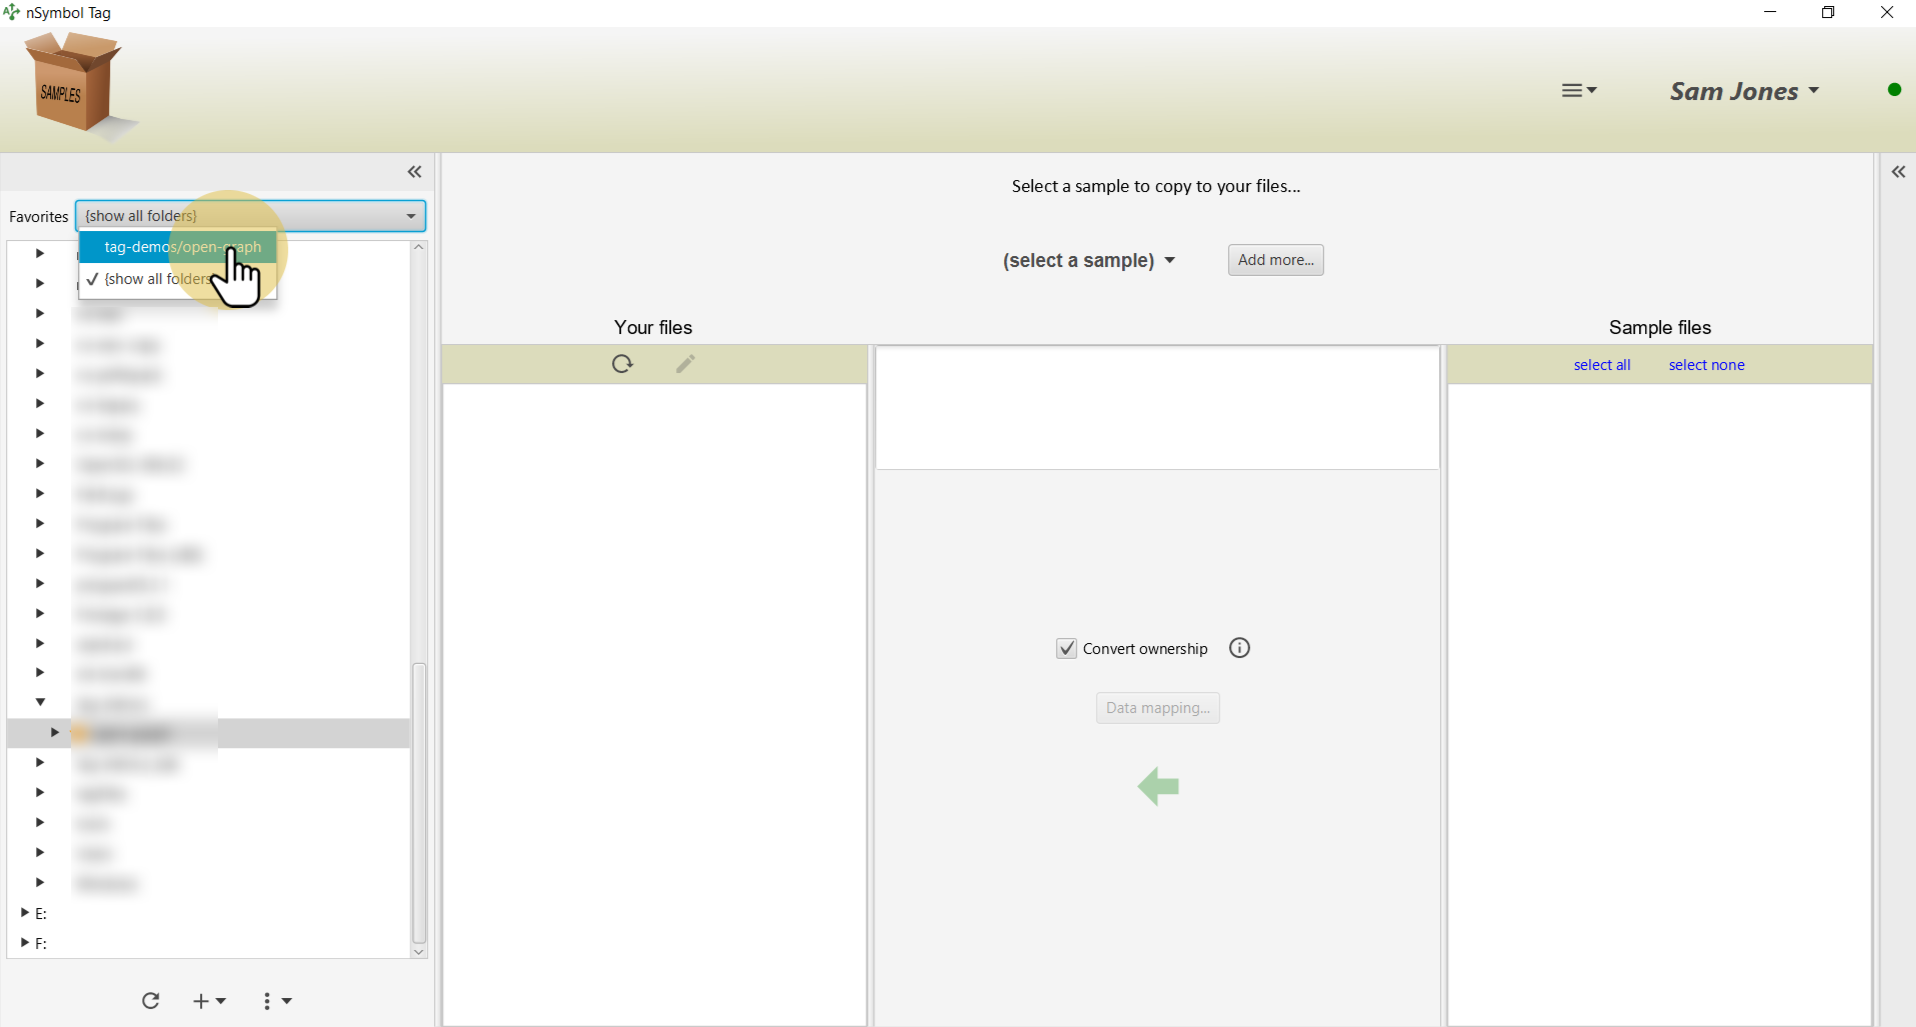
Click on the star icon next to the folder name to make it a favorite.

Select the folder in the Favorites dropdown list to reduce screen clutter.
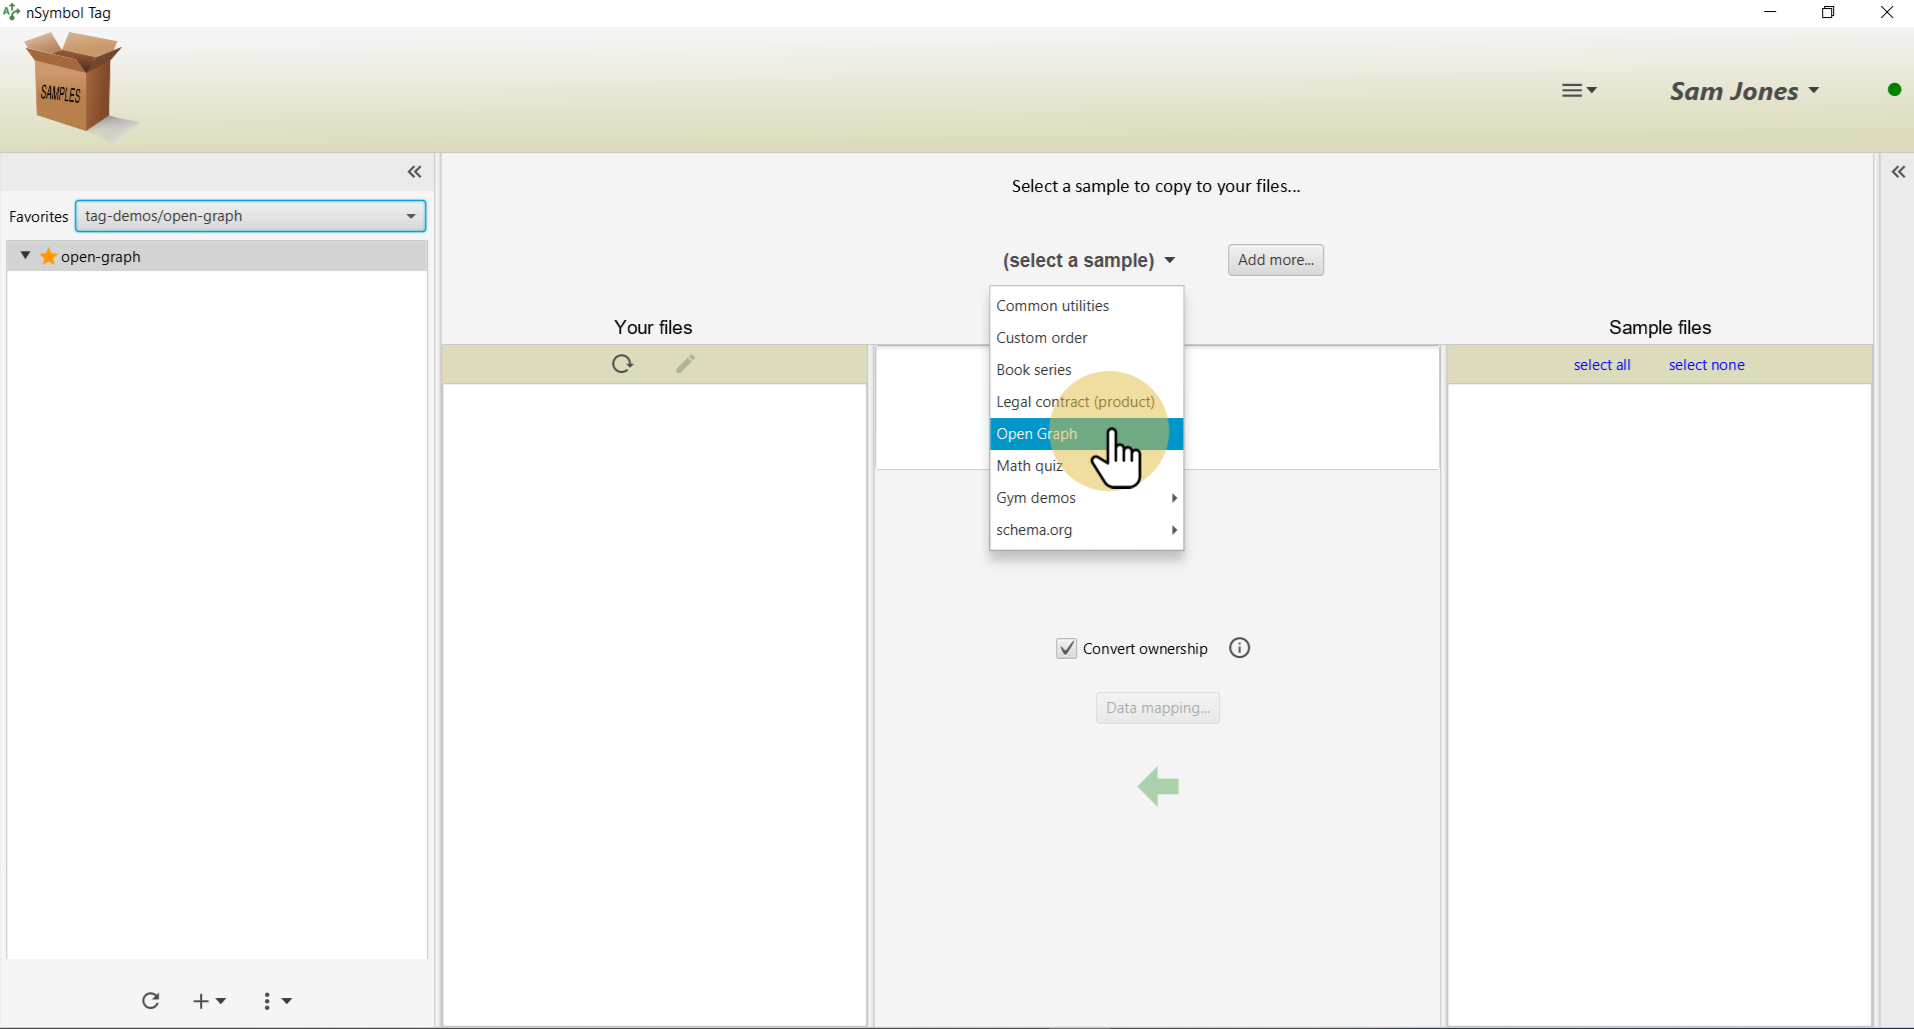
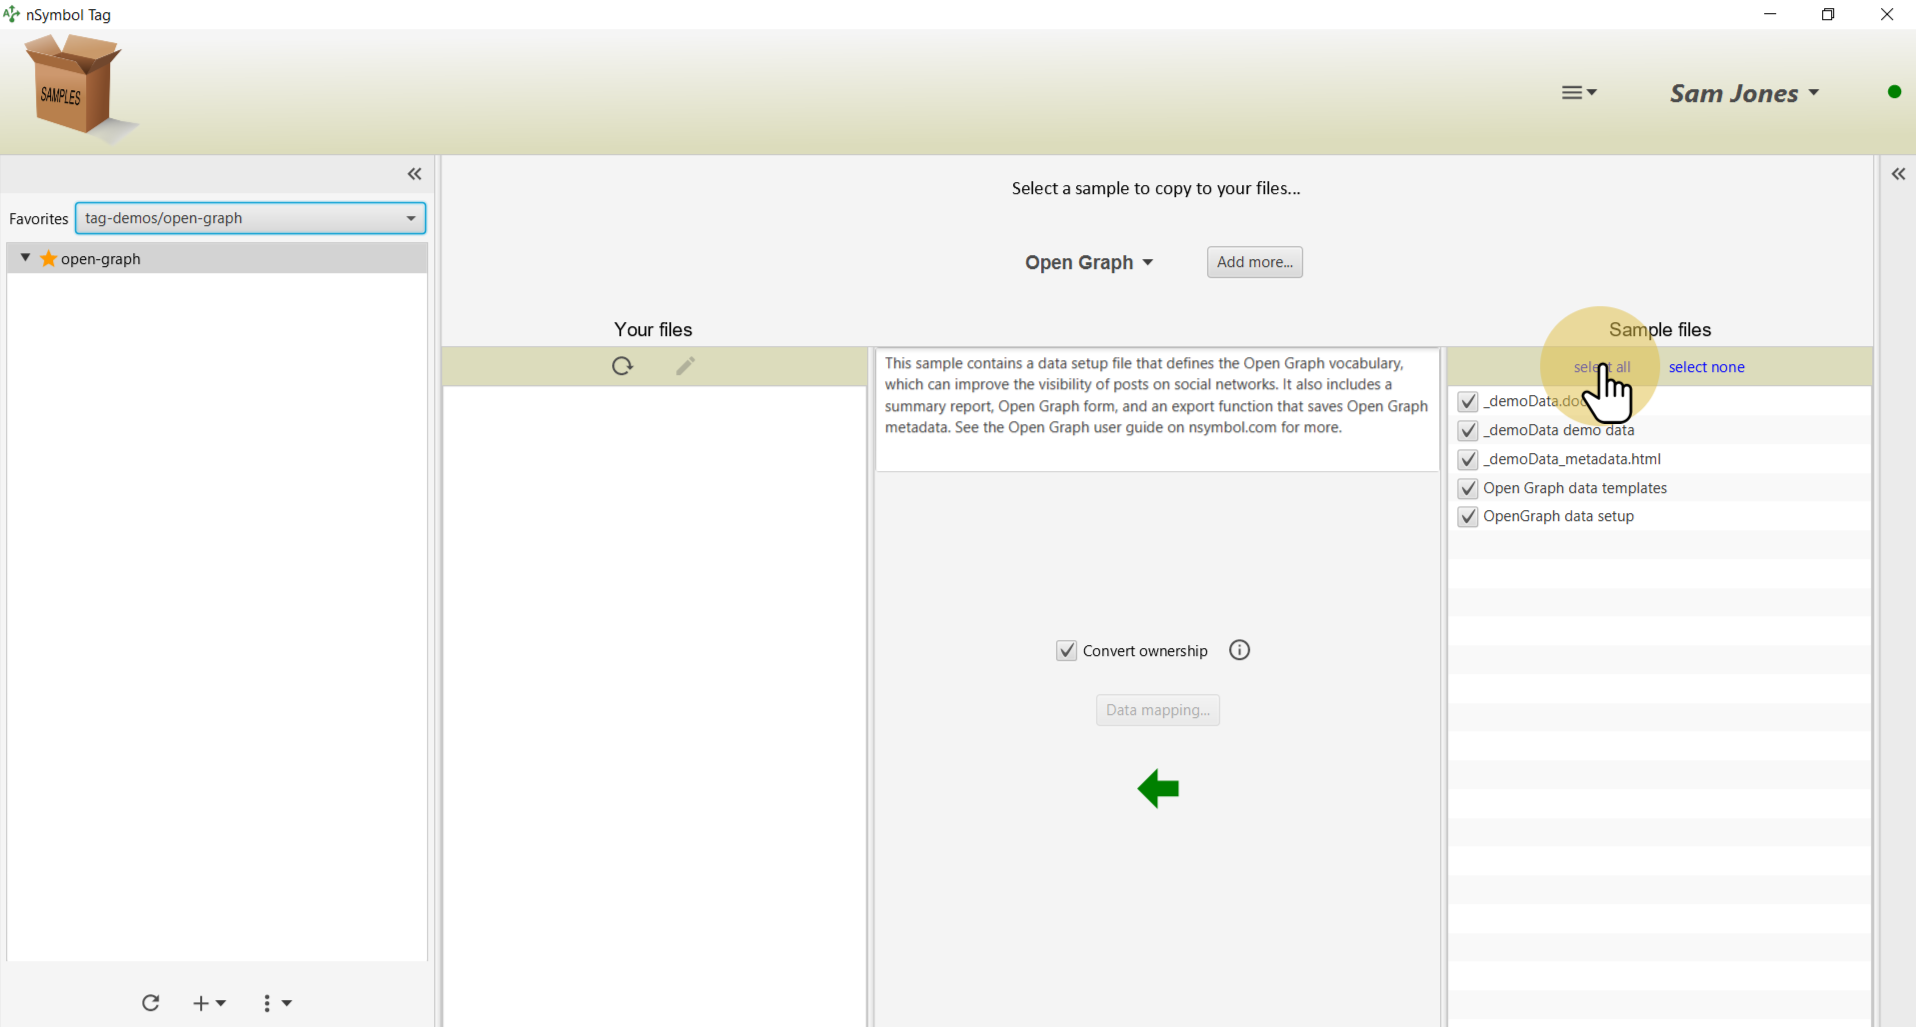
Select the Open Graph sample to display all included files.
Use the select all tool to select all sample files for copying.
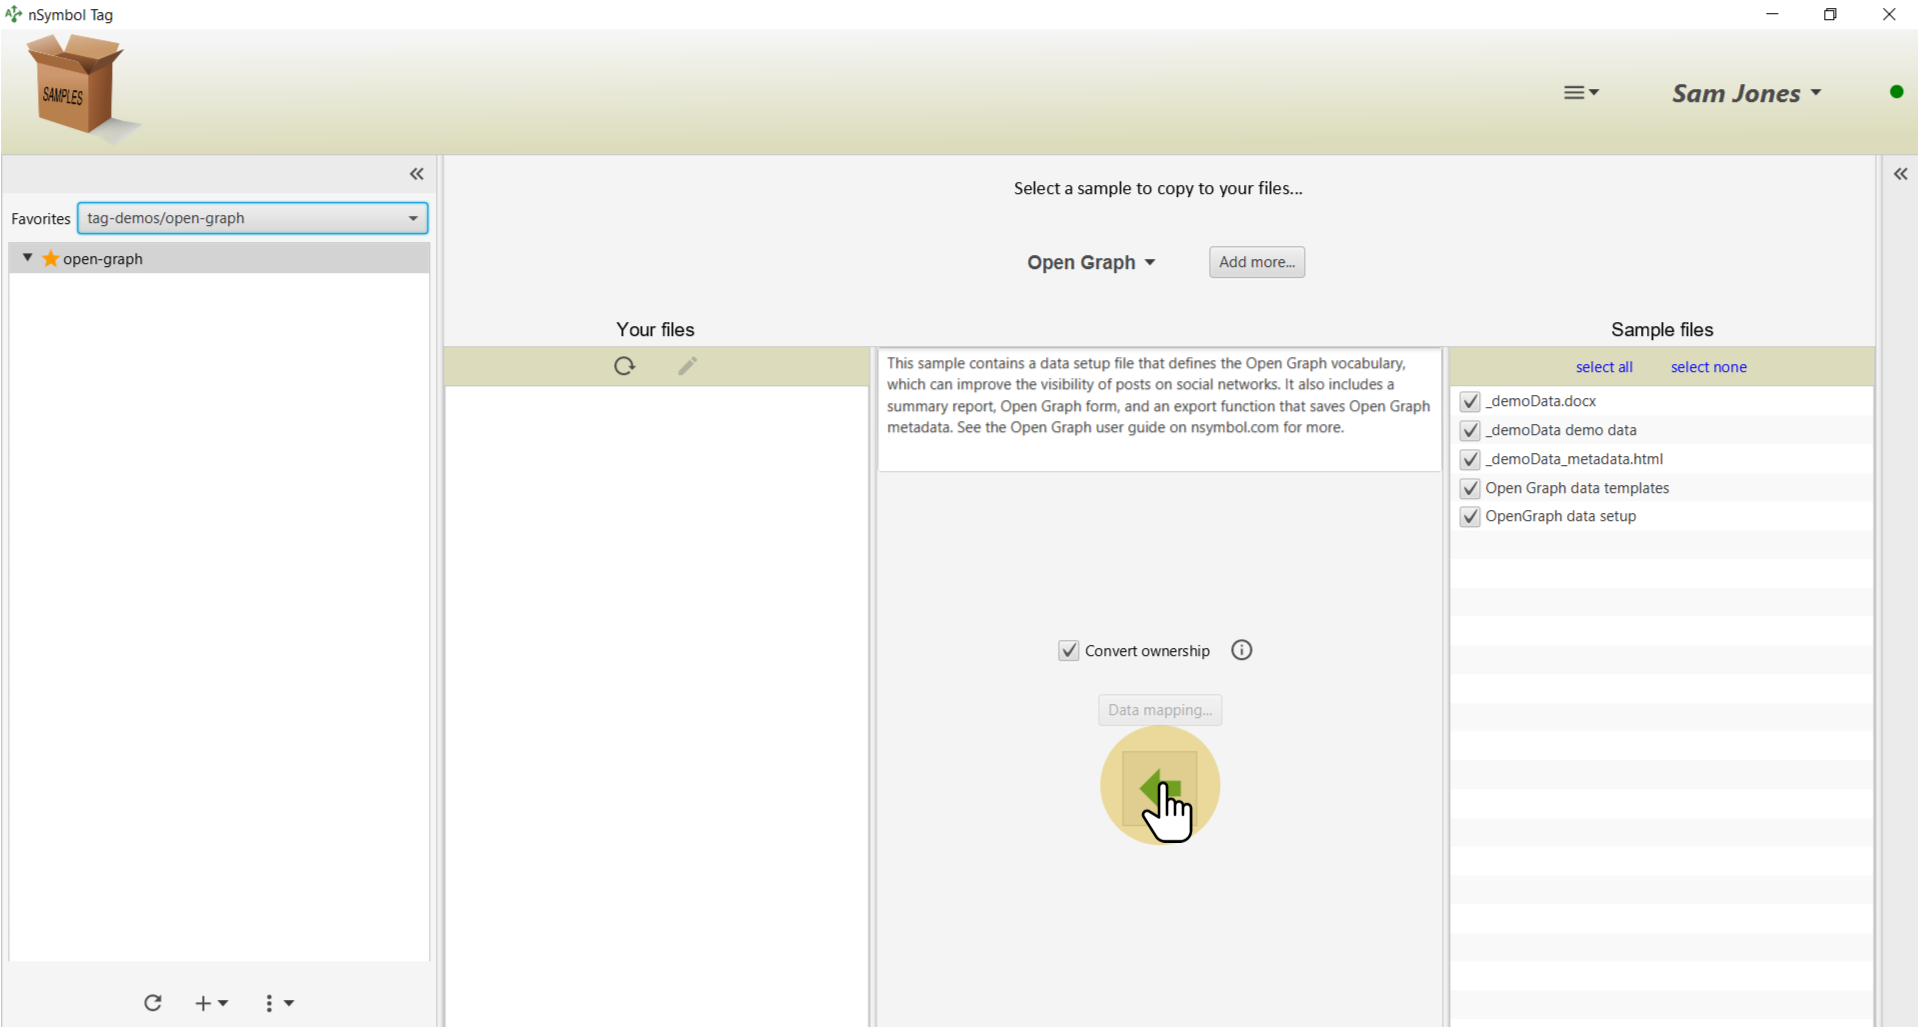
Click on the big arrow to copy the files. If the Convert ownership checkbox is selected, the data setup namespace will be changed to something unique to your account (recommended).
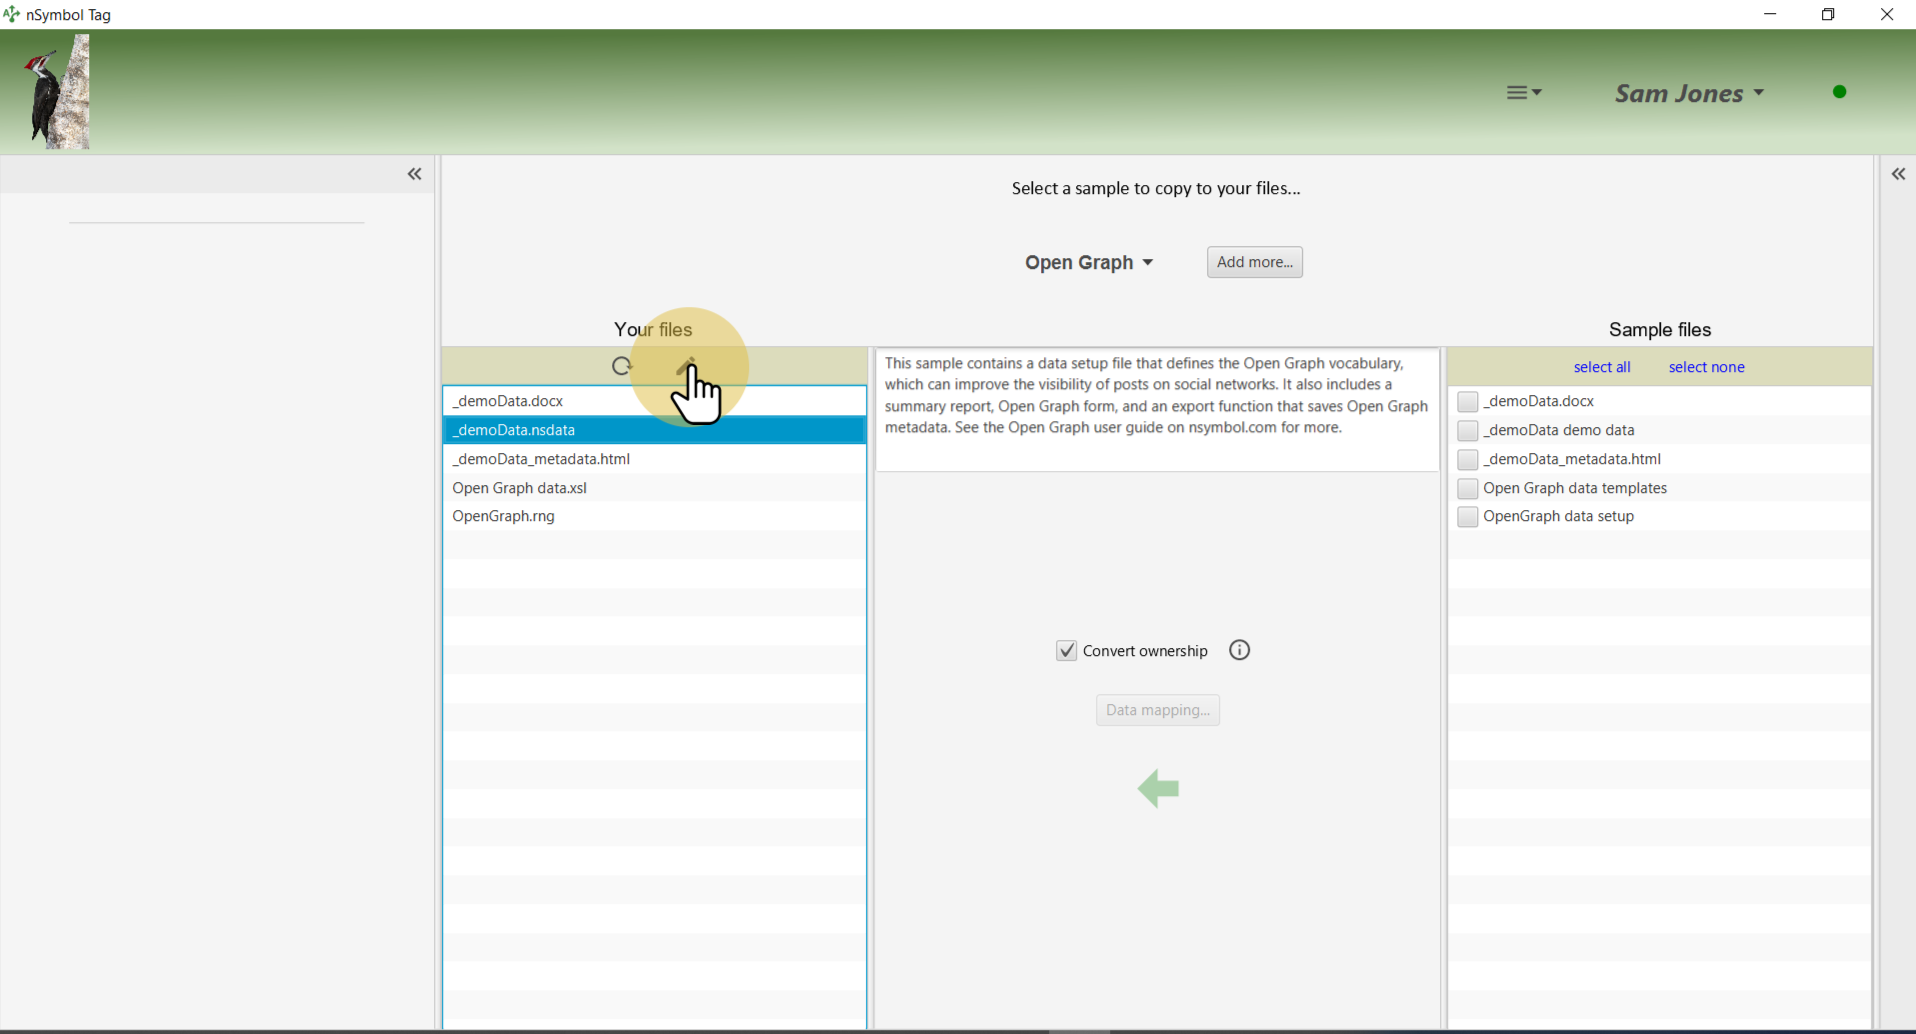
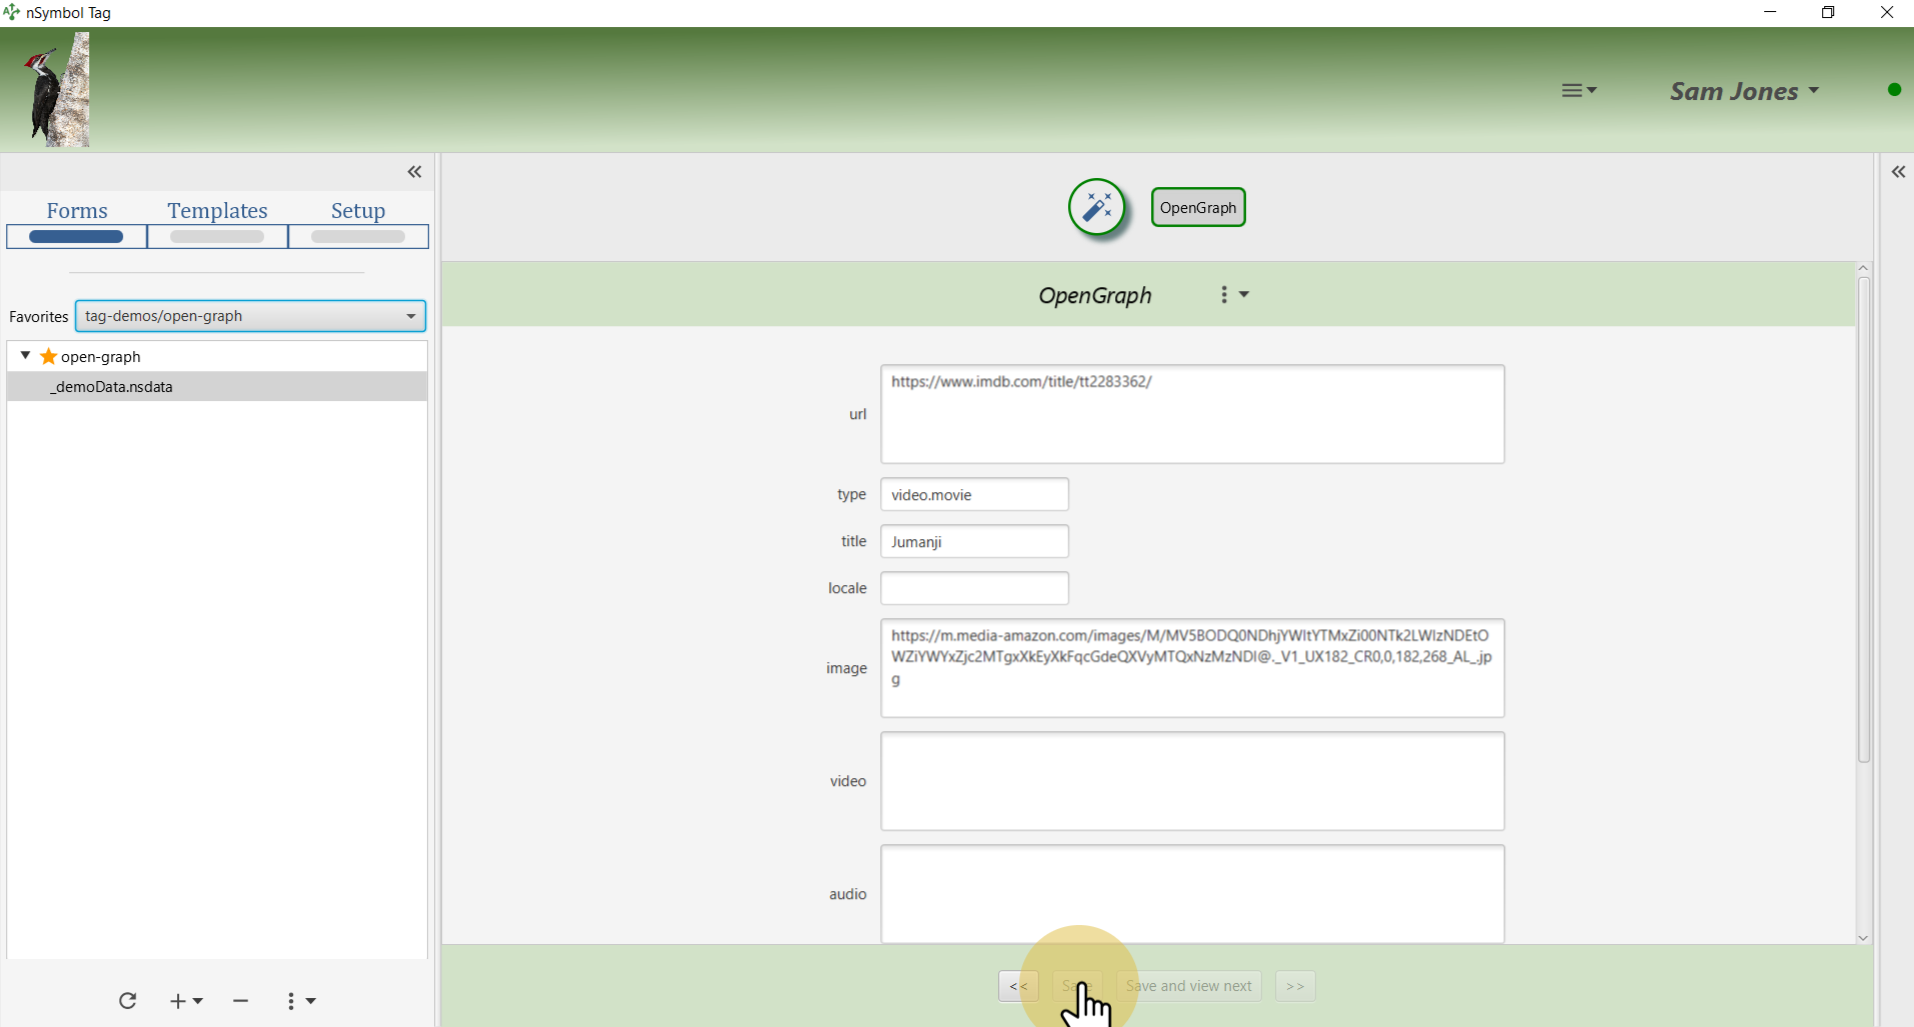
Select the _demoData.nsdata file and click the pencil tool. This will take you to the Forms screen in the Smart content app.
Click on the OpenGraph form tab to display the form.
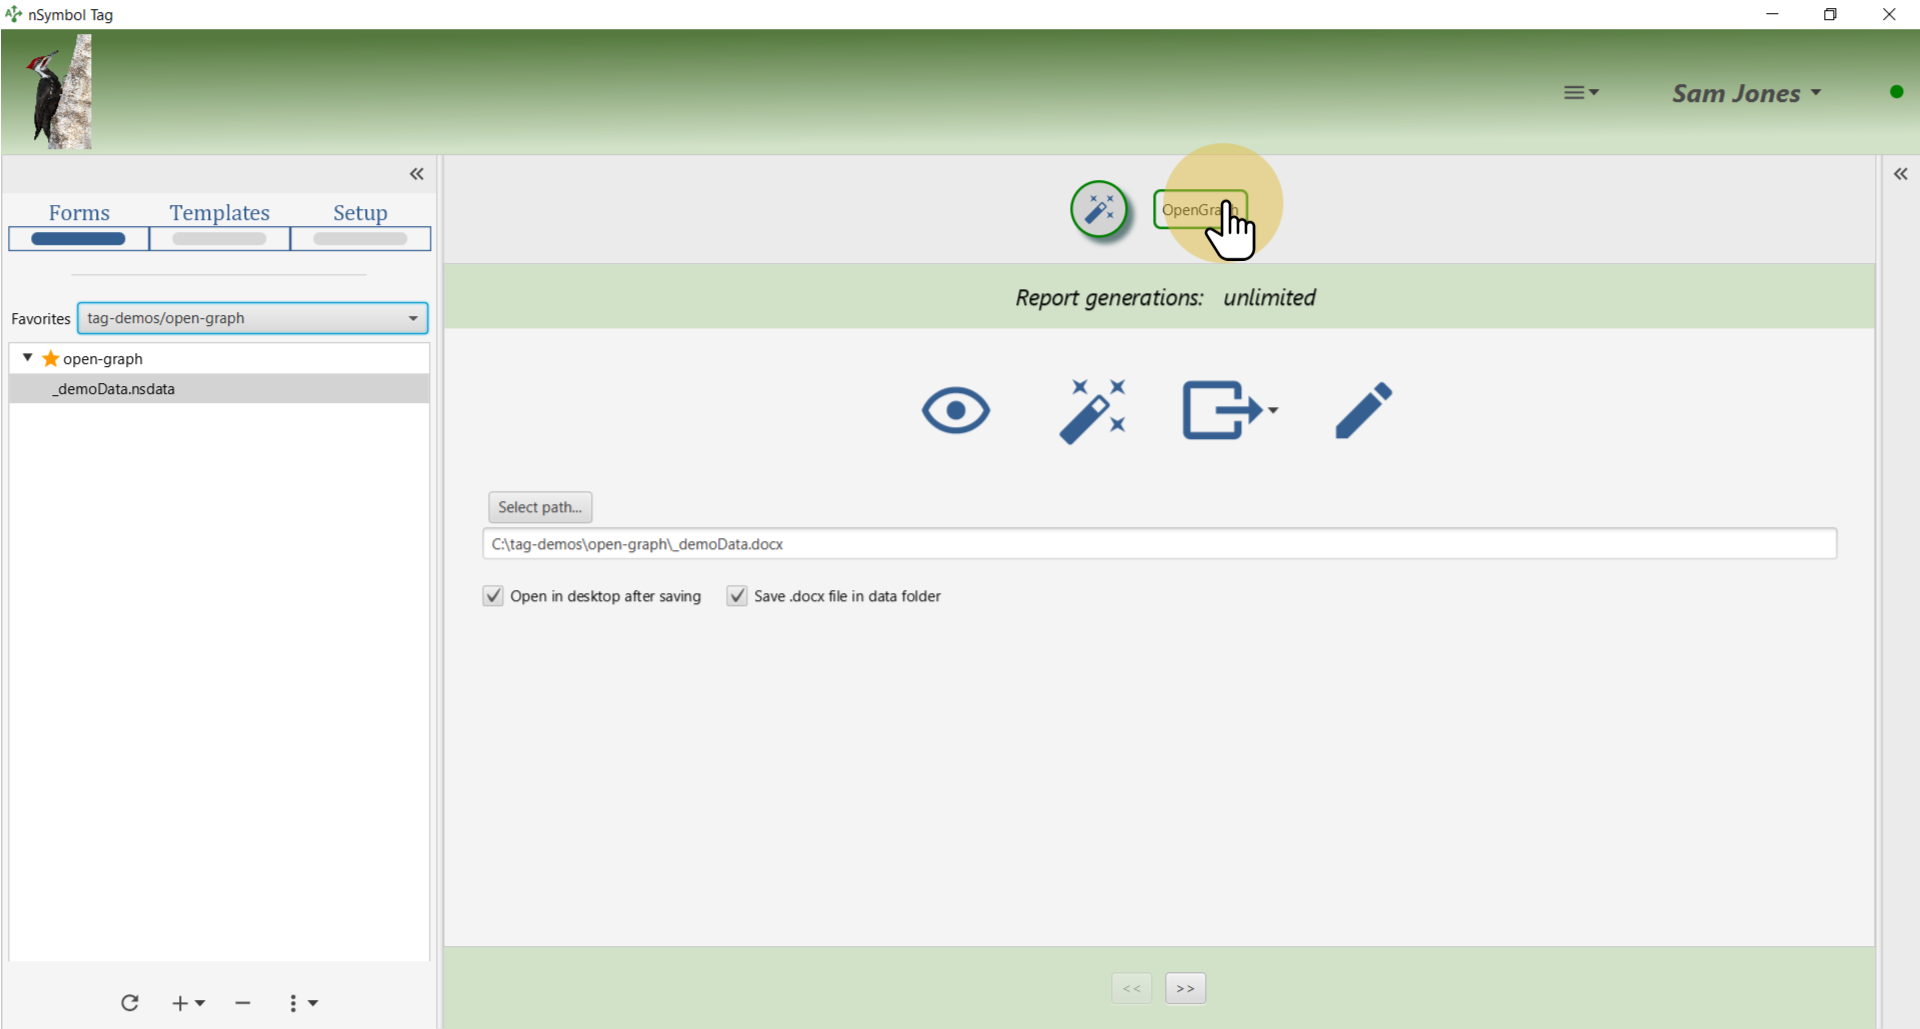
Change the demo data to something new, or keep the current values.
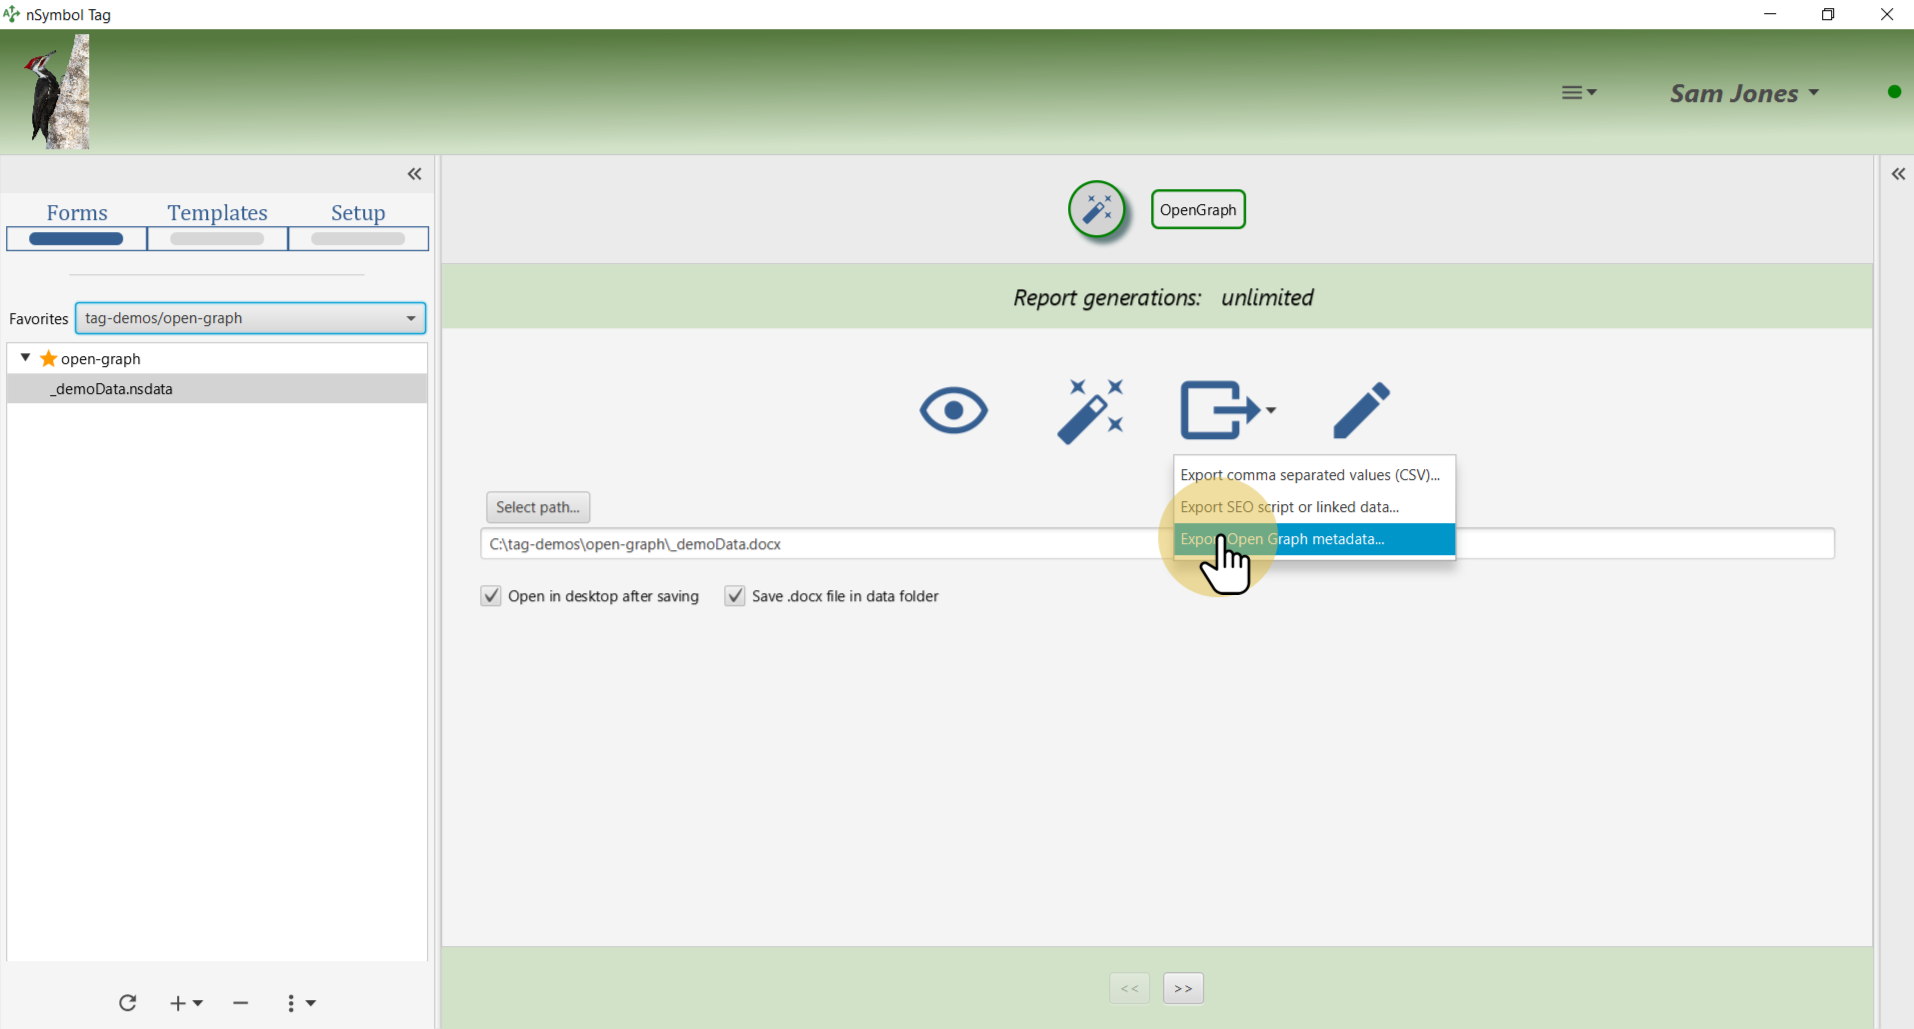
Return to the Generate page using the magic wand form tab. Use the Export Open Graph metadata... menu item under the export menu to open a file save dialog.
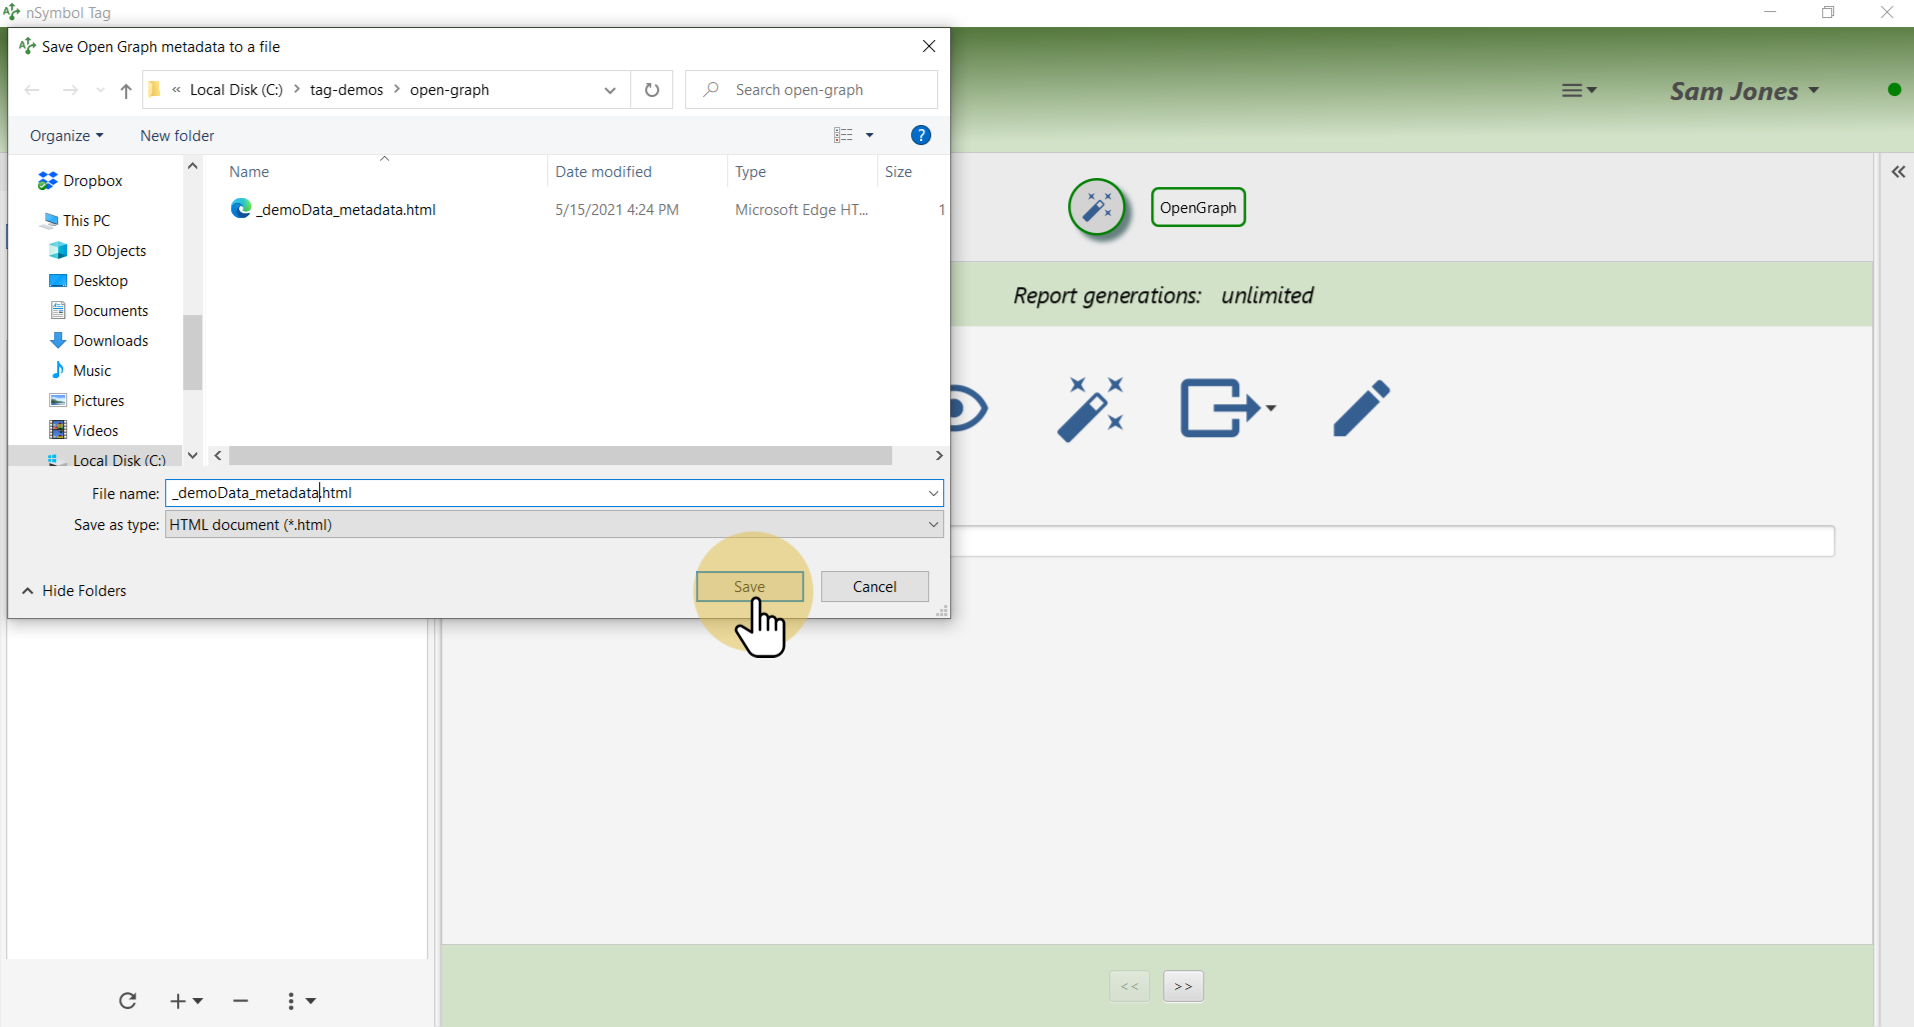
Specify a file name to export to using the standard Windows or Mac file selection dialog.
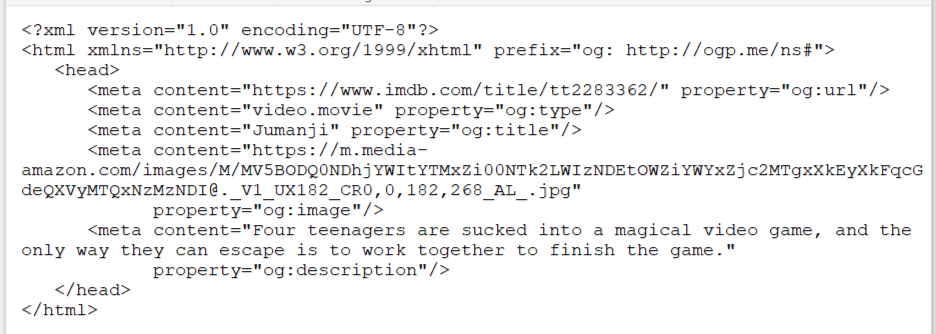
Open the exported *.html file using a text editor to view the metadata, which is embedded in HTML using meta tags within the head element. If you open in a browser by double-clicking it will display as a blank page (the file has no content).
Whoever or whatever publishes your website (team member or tool) should be able to work with this file.
That's it for this guide. Enter new data and export as files as often as you like.